
Contrast Paint Review – Part 2: Bears, Blu Tack, and RPG Minis
📌 Editor’s Note (2025 Update):
This is a restored and updated version of an article originally written in 2020 as Part 2 of the Contrast Paint Review series. Somehow, it never made it to the updated live site—but the thoughts, photos, and workflow still hold up. Only light edits have been made to formatting and phrasing to bring it in line with DiceHate’s current standards.
Contrast Meets Deep Cuts – Ready Out of the Box?
Back in Part 1, I explored Contrast Paints on a unit of Warhammer Ghouls. For this follow-up, I wanted to step outside the Citadel range and see how Contrast handled pre-primed plastic from other manufacturers. Enter the WizKids Deep Cuts range—affordable, pre-assembled, and supposedly paint-ready right out of the pack.
I’ve painted a fair few of these over the years, and they’re my go-to for RPG minis. To kick things off, I grabbed one that felt like a perfect test subject: the Grizzly Bear.

The model straight out of the packaging — no prep required, at least in theory.
Minimal Prep, Minimal Regret
Opening the blister, the temptation to clean the model was strong—there are usually a few mold lines or rough edges—but I resisted. This wasn’t a review of WizKids minis, just a test of Contrast workflow on a common product type.

The raw model. Plenty of fur texture, which makes it ideal for Contrast paints.
Using Blu Tack, I mounted the model to a spare base. The stock Deep Cuts bases are thinner than GW's, and I didn’t want to risk snapping it in a painting handle.

Workstation shot — Contrast paints at the ready, brush cleaned, podcast queued up.
Step-by-Step Contrast Painting – 10 Minutes to Tabletop

A bit of Contrast Medium takes the edge off deeper tones—ideal for animals or fabric.
I mixed up a lighter version of Gore-Grunta Fur by adding Contrast Medium, then applied it all over the fur.

First coat down — the fur texture is already doing a lot of work for you.
Quick Details – 4 Colours and a Steady Hand

Simple and efficient — all of these colours work straight from the pot.
Without waiting for the fur to fully dry, I painted in the remaining details:
Teeth: Skeleton Horde
Mouth: Guilliman Flesh
Tongue: Volupus Pink
Nose/Claws/Lips: Black Templar
The 10-Minute Result vs the Extra 20%

This is the point where you could stop—and honestly, it wouldn’t be wrong.
Here’s the Grizzly at the 10-minute mark. Table-ready. Looks solid. I used this stage as a benchmark against D&D pre-painted miniatures.

Minimal effort and it’s ahead of the pre-painted version.
But I didn’t stop there. I added another 20 minutes:
Agrax Earthshade wash on the fur
Nuln Oil on the snout
Yellow + black dot for the eyes
Subtle drybrushing on claws
Scenic basing with tufts and flowers — because bears deserve nice things


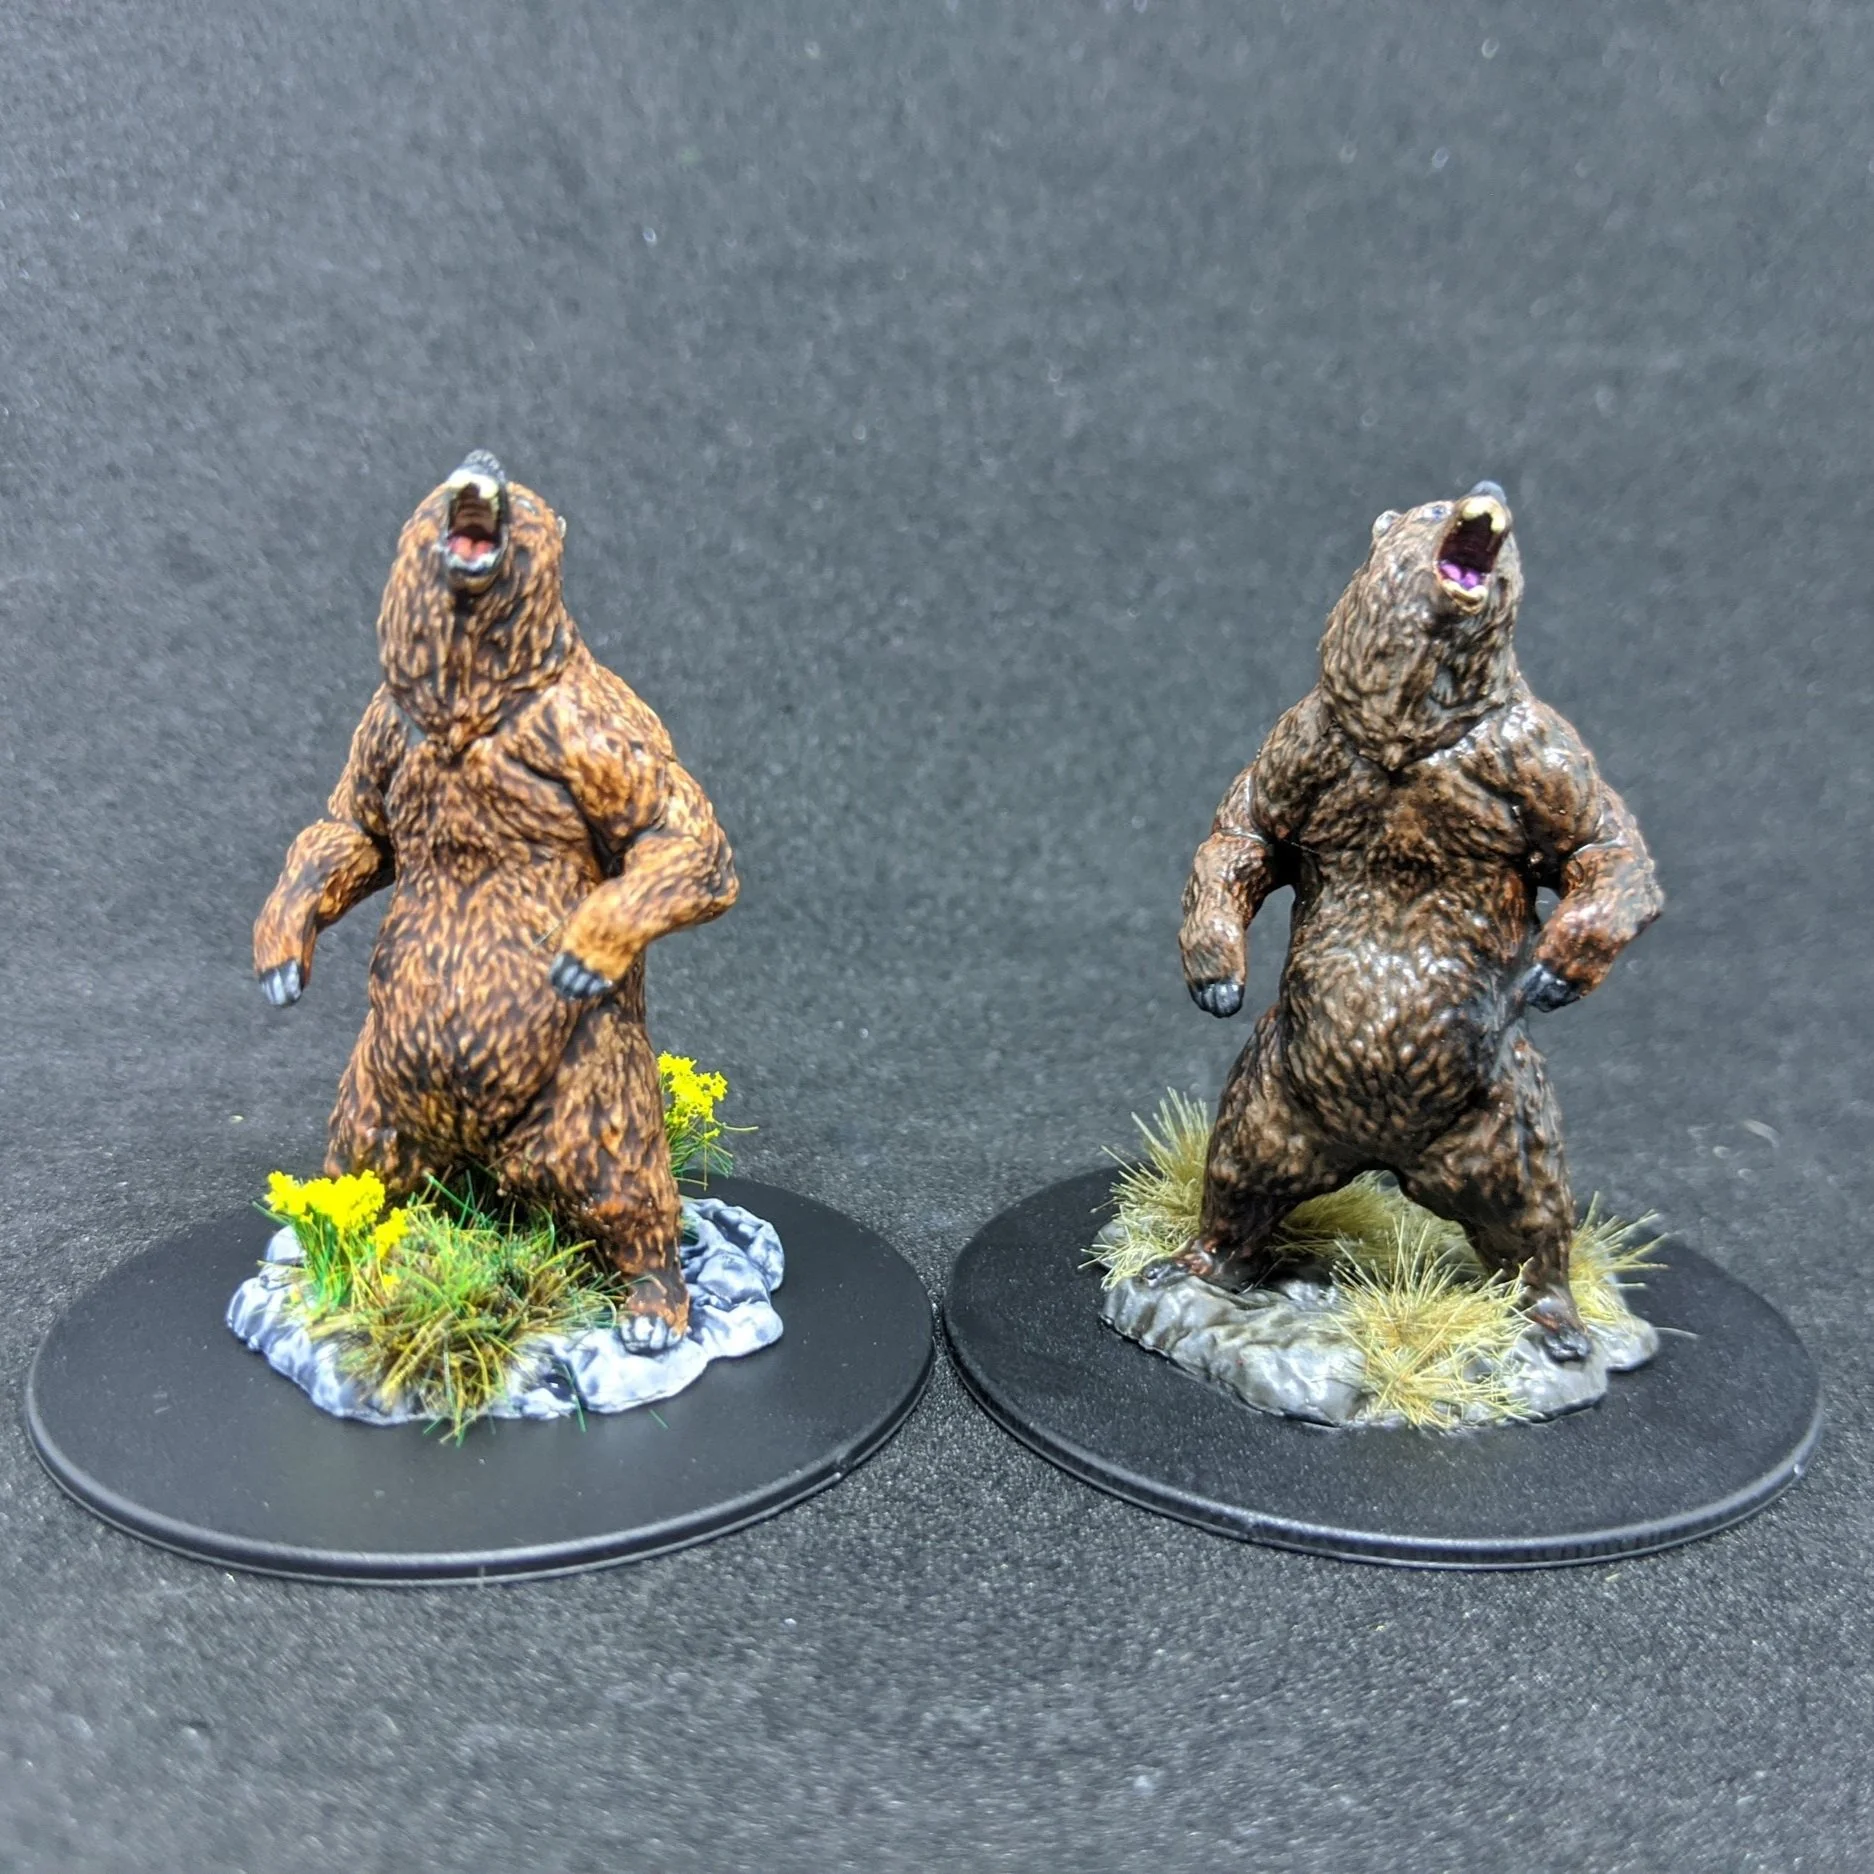
I also included a finished example of another model using the same method, just with different tones.
Scaling the Method – RPG Commissions and Townsfolk
To see if this worked across multiple sculpts, I painted a set of WizKids Townsfolk using the same approach. These were done for a small commission and followed the exact same principle: basecoat with Contrast, clean up details, minimal layering or blending, the aim being to exceed the level of the D&D Pre-Painted Figures that see a lot of play, whilst not being unattainable, or making said figures look too out of place.


Even across varying levels of sculpt quality, the workflow held up. On more detailed characters, I added a few layer highlights or picked out accessories for clarity—but nothing beyond 20–30 minutes per model, tops.
Conclusion – Contrast as a Workflow, Not a Shortcut
So, does Contrast work on WizKids Deep Cuts?
Yes, but with nuance. You can absolutely achieve tabletop-ready results faster than with traditional layering. But don’t mistake that for being effort-free. Brush control still matters. Colour planning still matters. But if you treat Contrast as part of a broader toolbox, not a one-stop solution, it opens up fast and satisfying results.
These bears and townsfolk aren’t display pieces—but they’re more than fit for the table, and most importantly, they were a pleasure to paint.
— Kris
In Part 3, I start pushing Contrast Paints beyond quick-and-dirty techniques and begin experimenting with more controlled effects and intentional layering.
Expect a few unexpected results, some test models that didn’t survive, and a deeper look into how Contrast can be used as part of more advanced paint jobs—not just for speed painting.